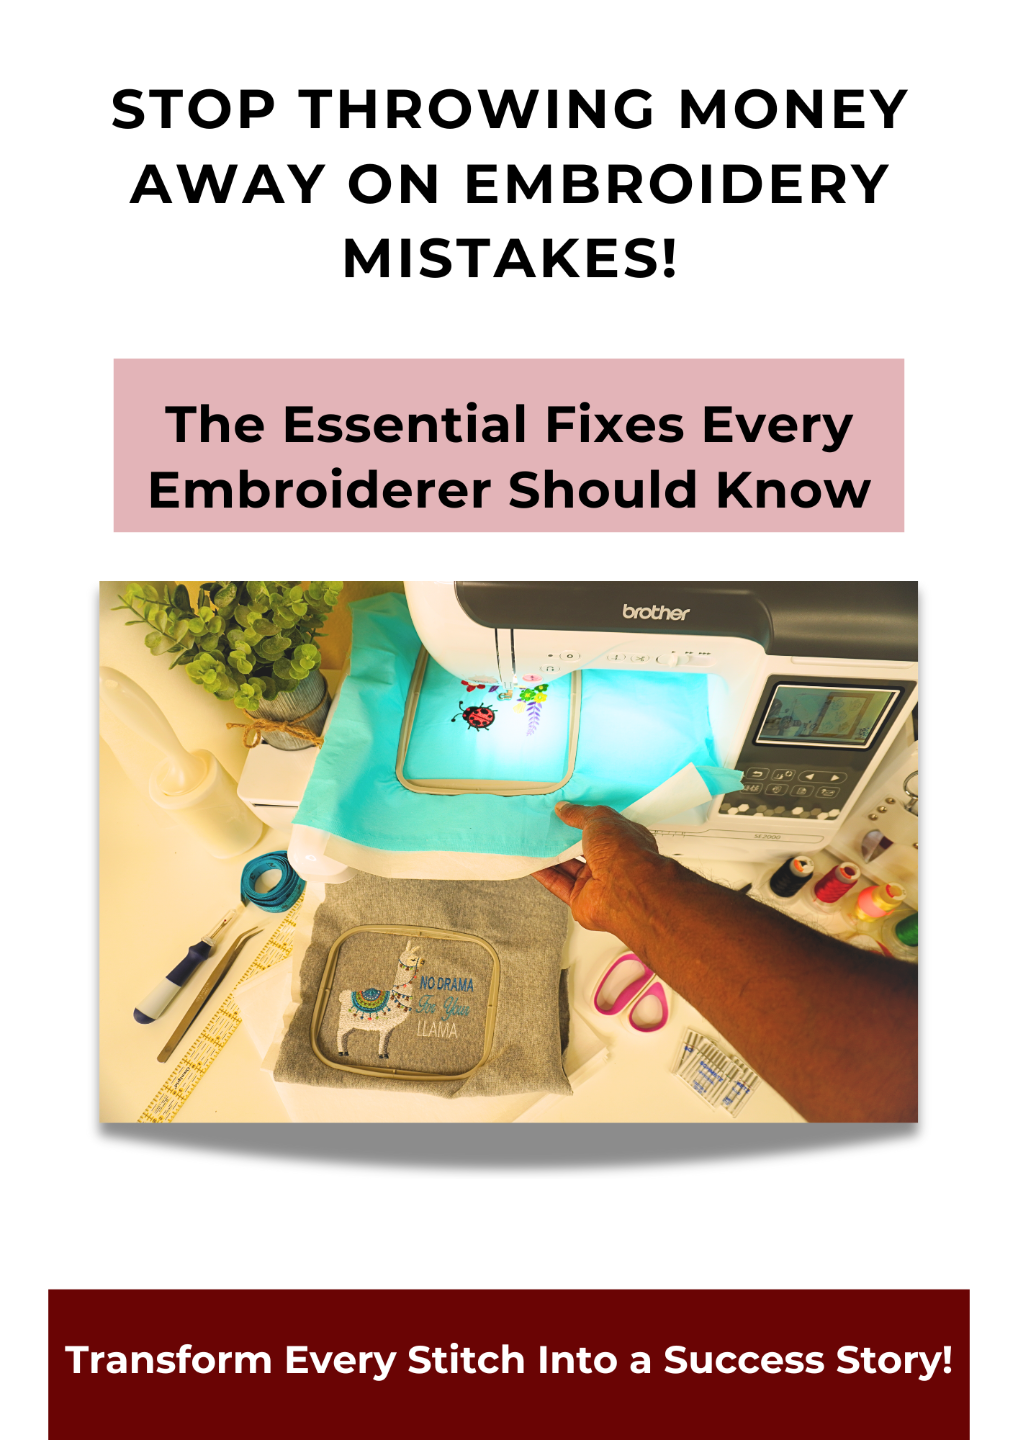
Understanding Stitch Types: When to Use Satin, Fill, or Running Stitches
Apr 18, 2025Choosing the right stitch type is the secret to crisp lettering, smooth fills, and flawless outlines in embroidery. But how do you know which one to use?
This guide will help you understand:
✅ The differences between Satin, Fill, and Running Stitches
✅ When to use each stitch for best results
✅ Common mistakes to avoid for cleaner embroidery
Let’s dive in! 🧵✨
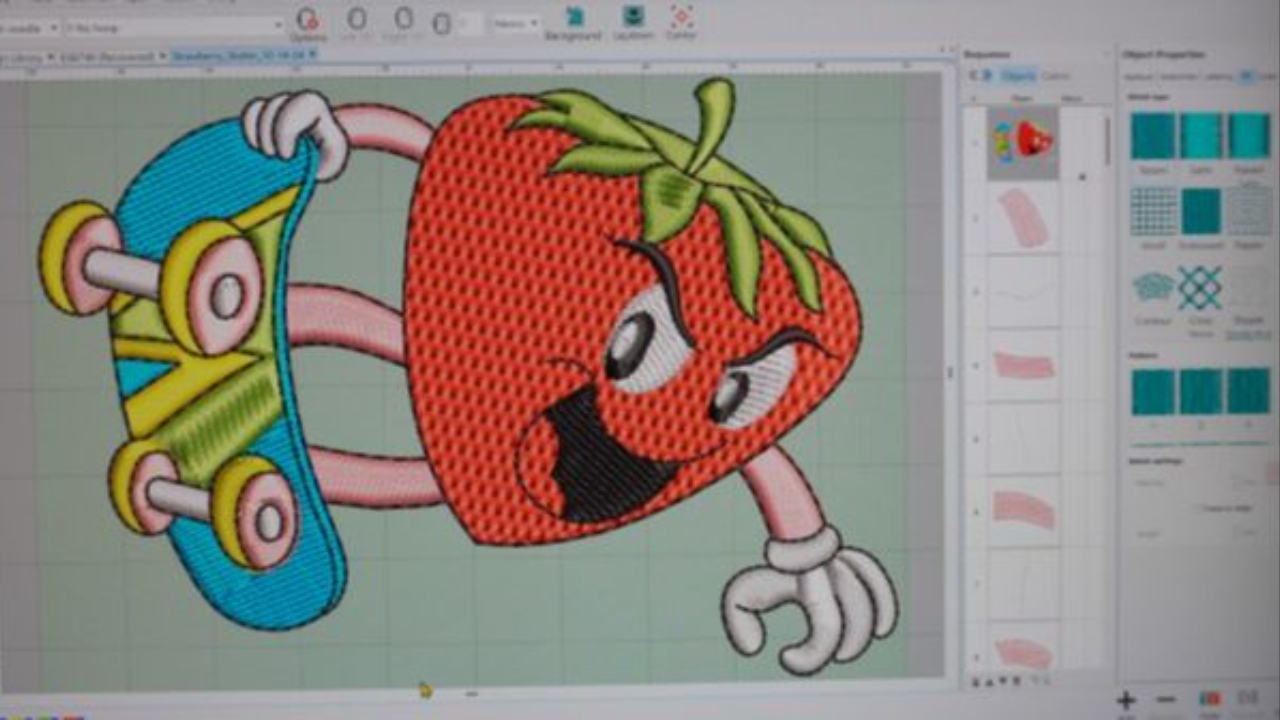
🧵 Stitch Type #1: Satin Stitch (Best for Smooth & Shiny Lettering)
✔️ Best Used For:
✅ Text & monograms
✅ Borders & outlines
✅ Small to medium-sized design elements
📌 Key Features:
- Wide, smooth stitches create a polished look
- Has a shiny, raised effect
- Works best for thin, small details
🚨 Common Mistakes to Avoid:
❌ Using Satin Stitch for Large Areas → Causes gapping or loose stitches
❌ Stitching Too Dense → Can lead to thread breaks and fabric stiffness
📝 Pro Tip: For larger areas, use a Fill Stitch instead of Satin!
🧵 Stitch Type #2: Fill Stitch (Tatami Stitch) – Best for Large Areas
✔️ Best Used For:
✅ Large text or logos
✅ Background fills
✅ Bold, dense embroidery designs
📌 Key Features:
- Uses a structured back-and-forth stitch pattern
- Covers large areas without puckering
- Can be adjusted for different textures and densities
🚨 Common Mistakes to Avoid:
❌ Not Adjusting Stitch Direction → Can cause uneven stitches
❌ Too High Density → Makes fabric too stiff
📝 Pro Tip: For a smoother, softer look, reduce the density slightly and use underlay stitches!
🧵 Stitch Type #3: Running Stitch (Thin & Precise Line Work)
✔️ Best Used For:
✅ Fine outlines & delicate details
✅ Redwork-style embroidery
✅ Lightweight fabrics
📌 Key Features:
- Uses a simple dashed line of single stitches
- Great for thin outlines without bulk
- Can be used for quick, low-density designs
🚨 Common Mistakes to Avoid:
❌ Using Running Stitch for Thick Outlines → Can look weak or disappear into fabric
❌ Spacing Too Wide → Can cause thread gaps
📝 Pro Tip: For stronger outlines, use Triple Running Stitch (a thicker version of running stitch)!
🔍 Comparison Chart: Which Stitch Should You Use?
| Stitch Type | Best For | Avoid Using For |
|---|---|---|
| Satin Stitch | Small text, logos, outlines | Large areas (causes loose stitches) |
| Fill Stitch | Large backgrounds, bold text | Thin lines, delicate details |
| Running Stitch | Outlines, fine details | Thick borders, solid fills |
📝 Quick Quiz: Test Your Stitch Knowledge!
1️⃣ Which stitch is best for small text and monograms?
A) Running Stitch
B) Satin Stitch
C) Fill Stitch
2️⃣ What is Fill Stitch mainly used for?
A) Small details
B) Large embroidery areas
C) Outlines
3️⃣ If your Satin Stitch is too wide, what should you do?
A) Switch to a Fill Stitch
B) Increase density
C) Use a Running Stitch instead
4️⃣ What happens if a Running Stitch is spaced too widely?
A) The fabric will pucker
B) The stitches will disappear into the fabric
C) The design will be too dense
👉 Drop your answers in the comments! ✅ (Answers: 1-B, 2-B, 3-A, 4-B)
Final Thoughts: Choosing the Right Stitch = Professional Results!
Mastering when to use Satin, Fill, or Running stitches will instantly improve the quality of your embroidery.
🎯 Want more embroidery tips? Sign up for our newsletter and get free embroidery guides, expert tips, and troubleshooting solutions delivered to your inbox!
💬 What’s your favorite stitch type to use? Drop a comment below! 👇
Want to create embroidery designs like a pro—fast? Join our FREE course to master auto-digitizing, refine your settings, and complete your first project with Hatch Embroidery 3. Enrollment opens soon—don’t miss out!
Stay Inspired with Embroidery Tips & Updates!
Join our mailing list to explore embroidery tips, software techniques, and updates from the Embroiderfy team. Your privacy is always our priority.
Your email address will only be used to send you updates, tips, and offers from Embroiderfy. We respect your privacy and will never share your information with third parties. You can unsubscribe at any time.