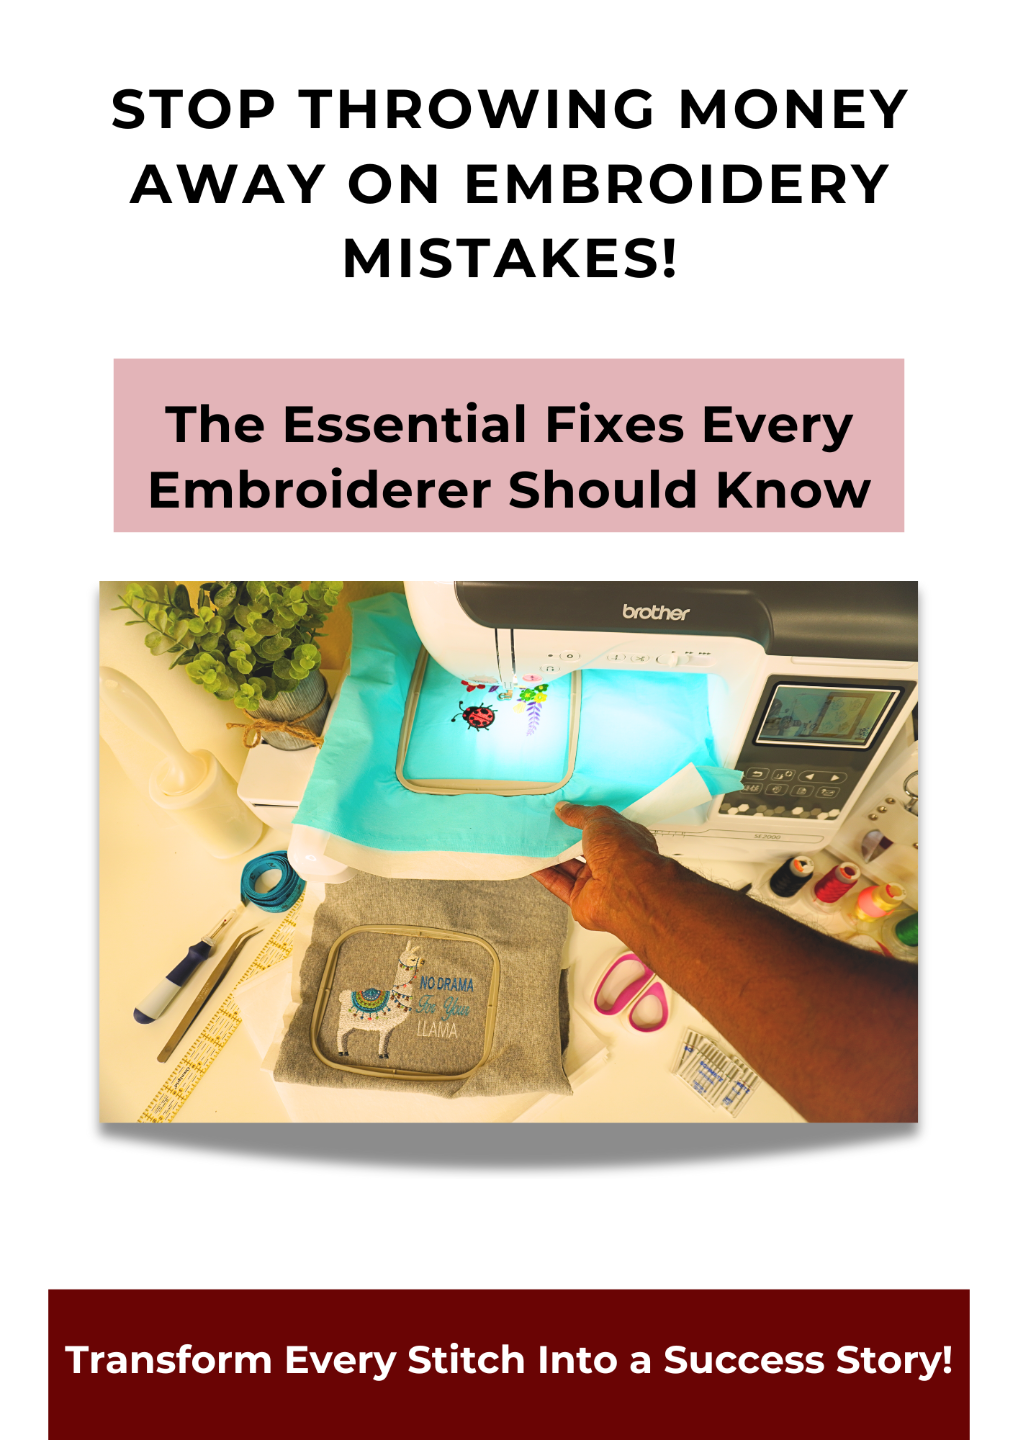
Combining Embroidery with Appliqué: A Step-by-Step Tutorial
Jun 01, 2025Want to add depth, color, and texture to your embroidery? 🧵✨
Appliqué is the perfect technique to enhance your designs—whether you’re creating bold monograms, fun shapes, or intricate patterns.
In this tutorial, we’ll cover:
✅ What appliqué is and why it’s useful
✅ Best fabrics & materials for appliqué embroidery
✅ Step-by-step instructions for machine embroidery appliqué
Let’s dive in! 🎨
🧵 What is Appliqué in Embroidery?
Appliqué is a technique where fabric pieces are stitched onto a base fabric to create layered, textured designs.
📌 Why Use Appliqué?
✔ Saves stitches – Great for large embroidery areas
✔ Adds texture – Perfect for creating contrast and depth
✔ Works well on thick fabrics – Avoids excess density in designs
📝 Pro Tip: Use appliqué to reduce stitch count while still creating eye-catching, high-impact embroidery!
🛠️ Materials Needed for Embroidery Appliqué
Before starting, gather these essentials:
✔ Embroidery machine
✔ Appliqué fabric (cotton, felt, or specialty materials)
✔ Stabilizer (tear-away or cut-away, depending on fabric)
✔ Embroidery thread (polyester or rayon works best)
✔ Appliqué scissors (for clean cutting)
✔ Temporary adhesive spray or fusible web (optional for extra hold)
📝 Pro Tip: Pre-wash your appliqué fabric to prevent shrinking after embroidery!
✂️ Step-by-Step: How to Combine Embroidery with Appliqué
Step 1: Choose Your Design & Fabric
- Select an appliqué-friendly embroidery design (most embroidery software offers built-in appliqué designs).
- Pick contrasting or complementary fabrics for visual impact.
✅ Best Fabrics for Appliqué: Cotton, felt, denim, flannel, twill
❌ Avoid: Stretchy fabrics (unless using stabilizer)
Step 2: Hoop the Base Fabric & Stabilizer
- Use a stabilizer to keep fabric smooth and prevent shifting.
- Tighten the hoop securely but avoid stretching the fabric too much.
📝 Pro Tip: If working with delicate fabrics, use a water-soluble stabilizer on top to prevent stitches from sinking in.
Step 3: Stitch the Placement Line
- Start the embroidery machine and let it stitch a placement outline where the appliqué fabric will go.
- This line helps you position the fabric accurately.
✅ Why This Step Matters: Ensures appliqué fabric is placed correctly before stitching.
Step 4: Place & Secure the Appliqué Fabric
- Place the appliqué fabric over the stitched placement line.
- Optionally: Use temporary adhesive spray to hold the fabric in place.
- Start the next stitch sequence, which will tack down the appliqué fabric.
📝 Pro Tip: Use fabric glue or double-sided fusible web for extra hold if stitching small details!
Step 5: Trim Excess Fabric
- Stop the machine after the tack-down stitch.
- Use appliqué scissors to trim the excess fabric close to the stitch line.
✅ Why This Step Matters: Clean edges prevent fraying and give a professional finish.
Step 6: Stitch the Final Satin or Decorative Border
- Restart the machine to sew the final border around the appliqué fabric.
- Choose between:
✔ Satin Stitch (classic solid border)
✔ Decorative Stitches (zigzag, motif, blanket stitch for unique looks)
📝 Pro Tip: Match your thread color to the appliqué fabric for a seamless look, or use contrasting thread for bold effects!
🔍 Troubleshooting Common Appliqué Mistakes
| Problem | Cause | Solution |
|---|---|---|
| Appliqué fabric shifts | Not secured properly | Use adhesive spray or fusible backing |
| Edges fray | Not trimmed closely enough | Use sharp appliqué scissors |
| Uneven satin stitches | Incorrect tension | Adjust machine tension settings |
| Design is too bulky | Fabric choice too thick | Choose lighter fabric or reduce stitch density |
📝 Quick Quiz: Are You Ready for Appliqué?
1️⃣ What is the purpose of a placement stitch?
A) To add texture
B) To show where to place the appliqué fabric
C) To prevent fabric puckering
2️⃣ What’s the best way to trim appliqué fabric?
A) Use standard scissors
B) Use appliqué scissors
C) Tear the fabric by hand
3️⃣ Which stitch is commonly used to finish appliqué edges?
A) Running Stitch
B) Satin Stitch
C) Fill Stitch
4️⃣ Why should you pre-wash appliqué fabric?
A) To prevent shrinking
B) To soften the fabric
C) To remove excess thread
👉 Drop your answers in the comments! ✅ (Answers: 1-B, 2-B, 3-B, 4-A)
Final Thoughts: Create Stunning Appliqué Designs!
Mastering machine embroidery appliqué is a great way to add dimension, color, and creativity to your projects. With the right techniques, you can make unique, professional-quality embroidery with layered fabric elements!
🎯 Want more embroidery tips? Sign up for our newsletter and get free embroidery guides, expert tips, and troubleshooting solutions delivered to your inbox!
💬 Have you tried appliqué embroidery before? Share your experience in the comments! 👇
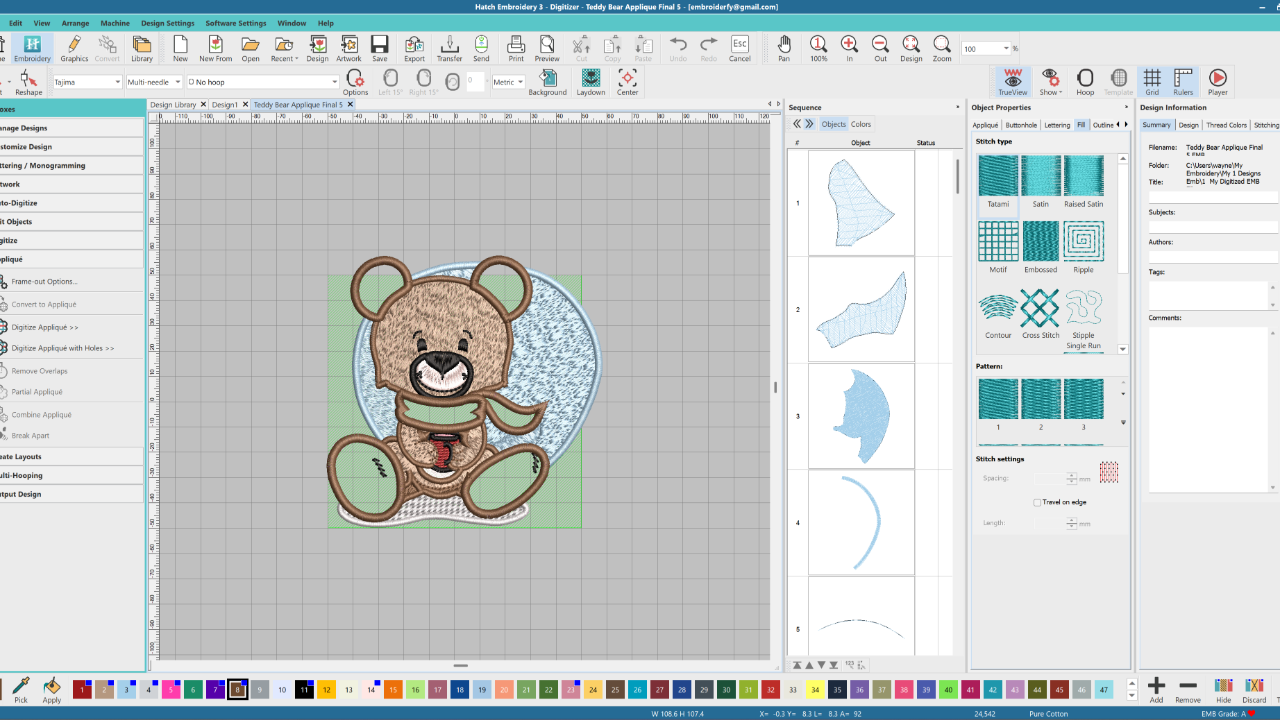
Want to create embroidery designs like a pro—fast? Join our FREE course to master auto-digitizing, refine your settings, and complete your first project with Hatch Embroidery 3. Enrollment opens soon—don’t miss out!
Stay Inspired with Embroidery Tips & Updates!
Join our mailing list to explore embroidery tips, software techniques, and updates from the Embroiderfy team. Your privacy is always our priority.
Your email address will only be used to send you updates, tips, and offers from Embroiderfy. We respect your privacy and will never share your information with third parties. You can unsubscribe at any time.