How to Choose the Right Hoop for Every Project
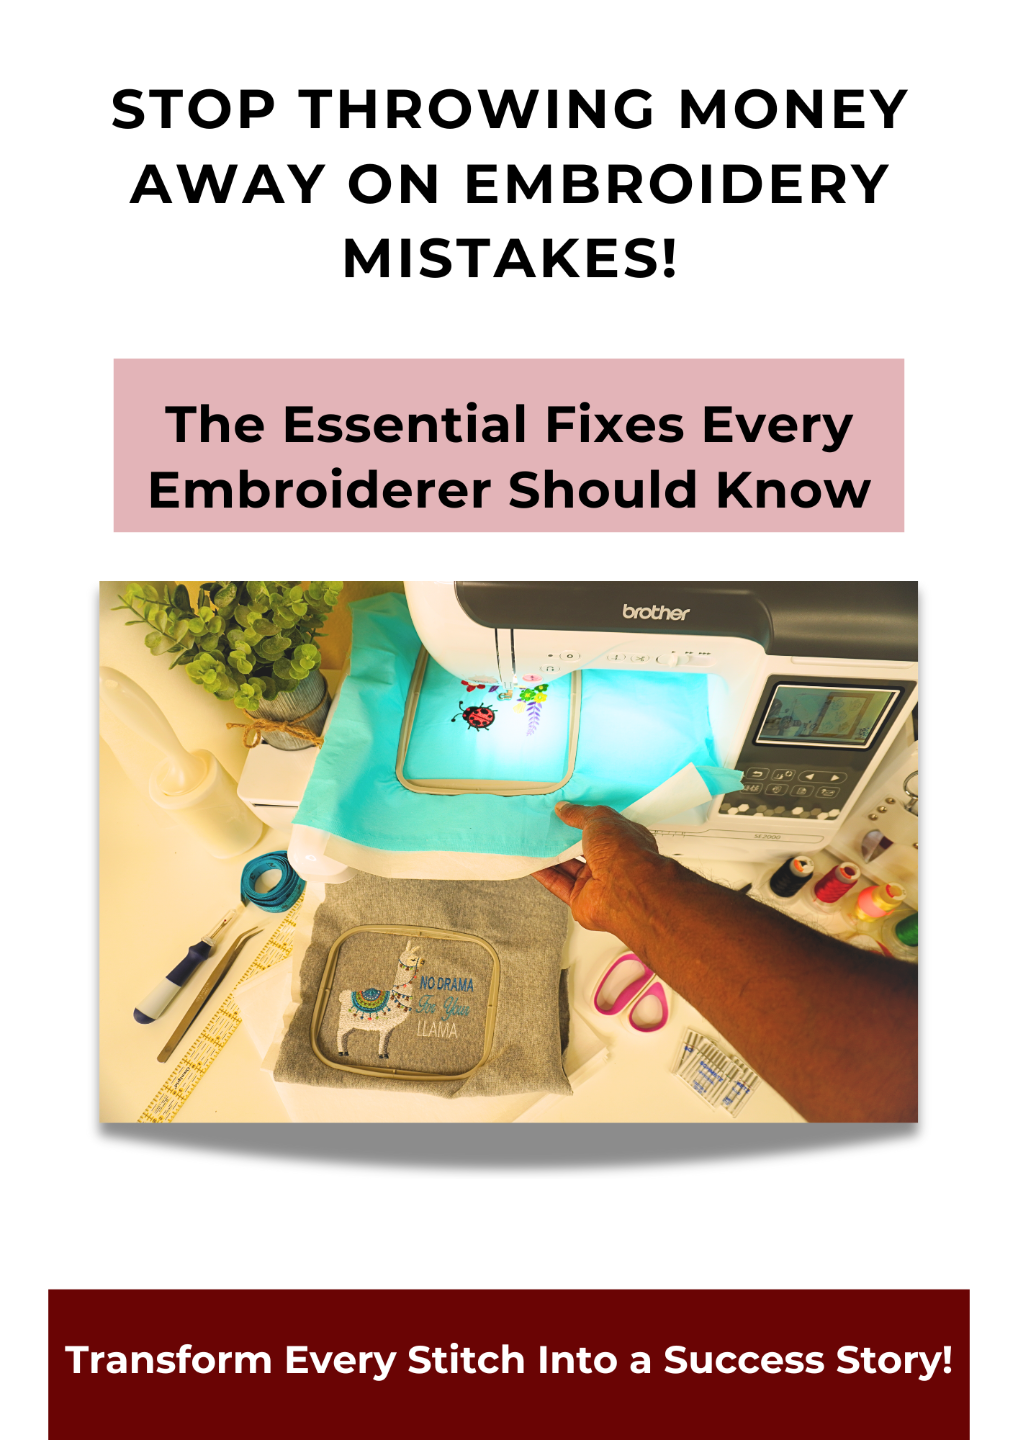
Apr 04, 2025Ever had puckered fabric, misaligned stitches, or frustrating embroidery errors? 🧵 Many of these issues start with incorrect hooping!
Choosing the right hoop size and type is essential for stitching clean, professional designs. In this guide, we’ll break down:
✅ The different types of embroidery hoops
✅ How hoop size affects fabric stability
✅ Common hooping mistakes & how to avoid them
Let’s get started!
📌 Why Does Hoop Selection Matter?
Your hoop holds the fabric taut while the machine stitches. If it's too loose, the fabric may shift or pucker. If it’s too tight, it may leave hoop burn or damage delicate fabrics.
Proper hooping ensures:
✔️ Even stitches (no distortions)
✔️ No fabric shifting (avoids misalignment)
✔️ Smooth finishes (reduces wrinkles or puckering)
📝 Pro Tip: The right stabilizer + correct hoop size = flawless embroidery!
🧵 Types of Embroidery Hoops
Different projects require different hoop types. Here’s a breakdown:
1️⃣ Standard Plastic Hoops (Most Common)
✅ Best For: General machine embroidery, woven fabrics
✅ Pros: Sturdy, available in many sizes
✅ Cons: May leave hoop marks on delicate fabrics
2️⃣ Magnetic Hoops (No Clamps Needed!)
✅ Best For: Thick materials (leather, denim), quilting, multi-layer projects
✅ Pros: No hoop burn, easy repositioning
✅ Cons: More expensive than plastic hoops
3️⃣ Snap Hoops (Quick-Change Frames)
✅ Best For: Large designs, repetitive embroidery tasks
✅ Pros: Fast setup, prevents hoop burn
✅ Cons: May require machine-specific compatibility
4️⃣ Clamp Hoops (For Hard-to-Hoop Areas)
✅ Best For: Caps, sleeves, bags
✅ Pros: Holds tricky areas securely
✅ Cons: Not ideal for soft/stretchy fabrics
📏 Choosing the Right Hoop Size
The hoop size affects stitch quality and fabric tension. Here’s a quick guide:
| Hoop Size | Best For |
|---|---|
| 4” x 4” | Small designs, monograms, patches |
| 5” x 7” | Medium-sized designs, general use |
| 6” x 10” | Large text, light quilting |
| 8” x 12” | Large embroidery projects |
📝 Pro Tip: Always use the smallest hoop possible for your design. This keeps fabric stable and prevents movement.
🚫 Common Hooping Mistakes & Fixes
❌ Mistake #1: Over-Stretching Fabric
❗ Problem: Causes fabric distortion when unhooped.
✔️ Fix: Fabric should be taut, but not stretched beyond its natural tension.
❌ Mistake #2: Using the Wrong Hoop Size
❗ Problem: A hoop that’s too big won’t hold fabric securely.
✔️ Fix: Match the smallest hoop size possible to your design dimensions.
❌ Mistake #3: Not Using Stabilizer Correctly
❗ Problem: Fabric puckers, stitches sink into fabric.
✔️ Fix: Use the correct stabilizer (tear-away, cut-away, or water-soluble) for your fabric type.
📝 Quick Quiz: Are You Hooping Correctly?
1️⃣ Which hoop is best for thick materials like denim?
A) Standard Plastic Hoop
B) Magnetic Hoop
C) Snap Hoop
2️⃣ What’s the best way to prevent puckering?
A) Hoop fabric loosely
B) Use proper stabilizer and correct tension
C) Avoid using a hoop
3️⃣ What size hoop should you use for a small 3-inch monogram?
A) 4” x 4”
B) 6” x 10”
C) 8” x 12”
4️⃣ What should you always check after hooping fabric?
A) That it’s stretched as tightly as possible
B) That it’s secure but maintains its natural tension
C) That stabilizer is removed before stitching
👉 Drop your answers in the comments! ✅ (Answers: 1-B, 2-B, 3-A, 4-B)
Final Thoughts: Hoop Like a Pro!
Mastering hoop selection and technique will transform your embroidery quality. With the right hoop and stabilizer, you’ll avoid puckering, misalignment, and fabric damage!
🎯 Want more embroidery tips? Sign up for our newsletter and get free embroidery guides, expert tips, and troubleshooting solutions delivered to your inbox!
💬 What’s your go-to hoop? Drop your favorite hooping tips in the comments! 👇
Want to create embroidery designs like a pro—fast? Join our FREE course to master auto-digitizing, refine your settings, and complete your first project with Hatch Embroidery 3. Enrollment opens soon—don’t miss out!
Stay Inspired with Embroidery Tips & Updates!
Join our mailing list to explore embroidery tips, software techniques, and updates from the Embroiderfy team. Your privacy is always our priority.
Your email address will only be used to send you updates, tips, and offers from Embroiderfy. We respect your privacy and will never share your information with third parties. You can unsubscribe at any time.